Using the Prixel press kit
We bought a Prixel press kit at Multiple Formats last weekend and so far it’s been super fun!

The first thing I did was create a digital version of the setup plate and all 312 pieces.

This allowed me to really quickly move pieces around, play with composition and get the design exactly how I wanted it.

My wife thinks this is cheating, I think it’s being resourceful. I’ll let you be the judge.
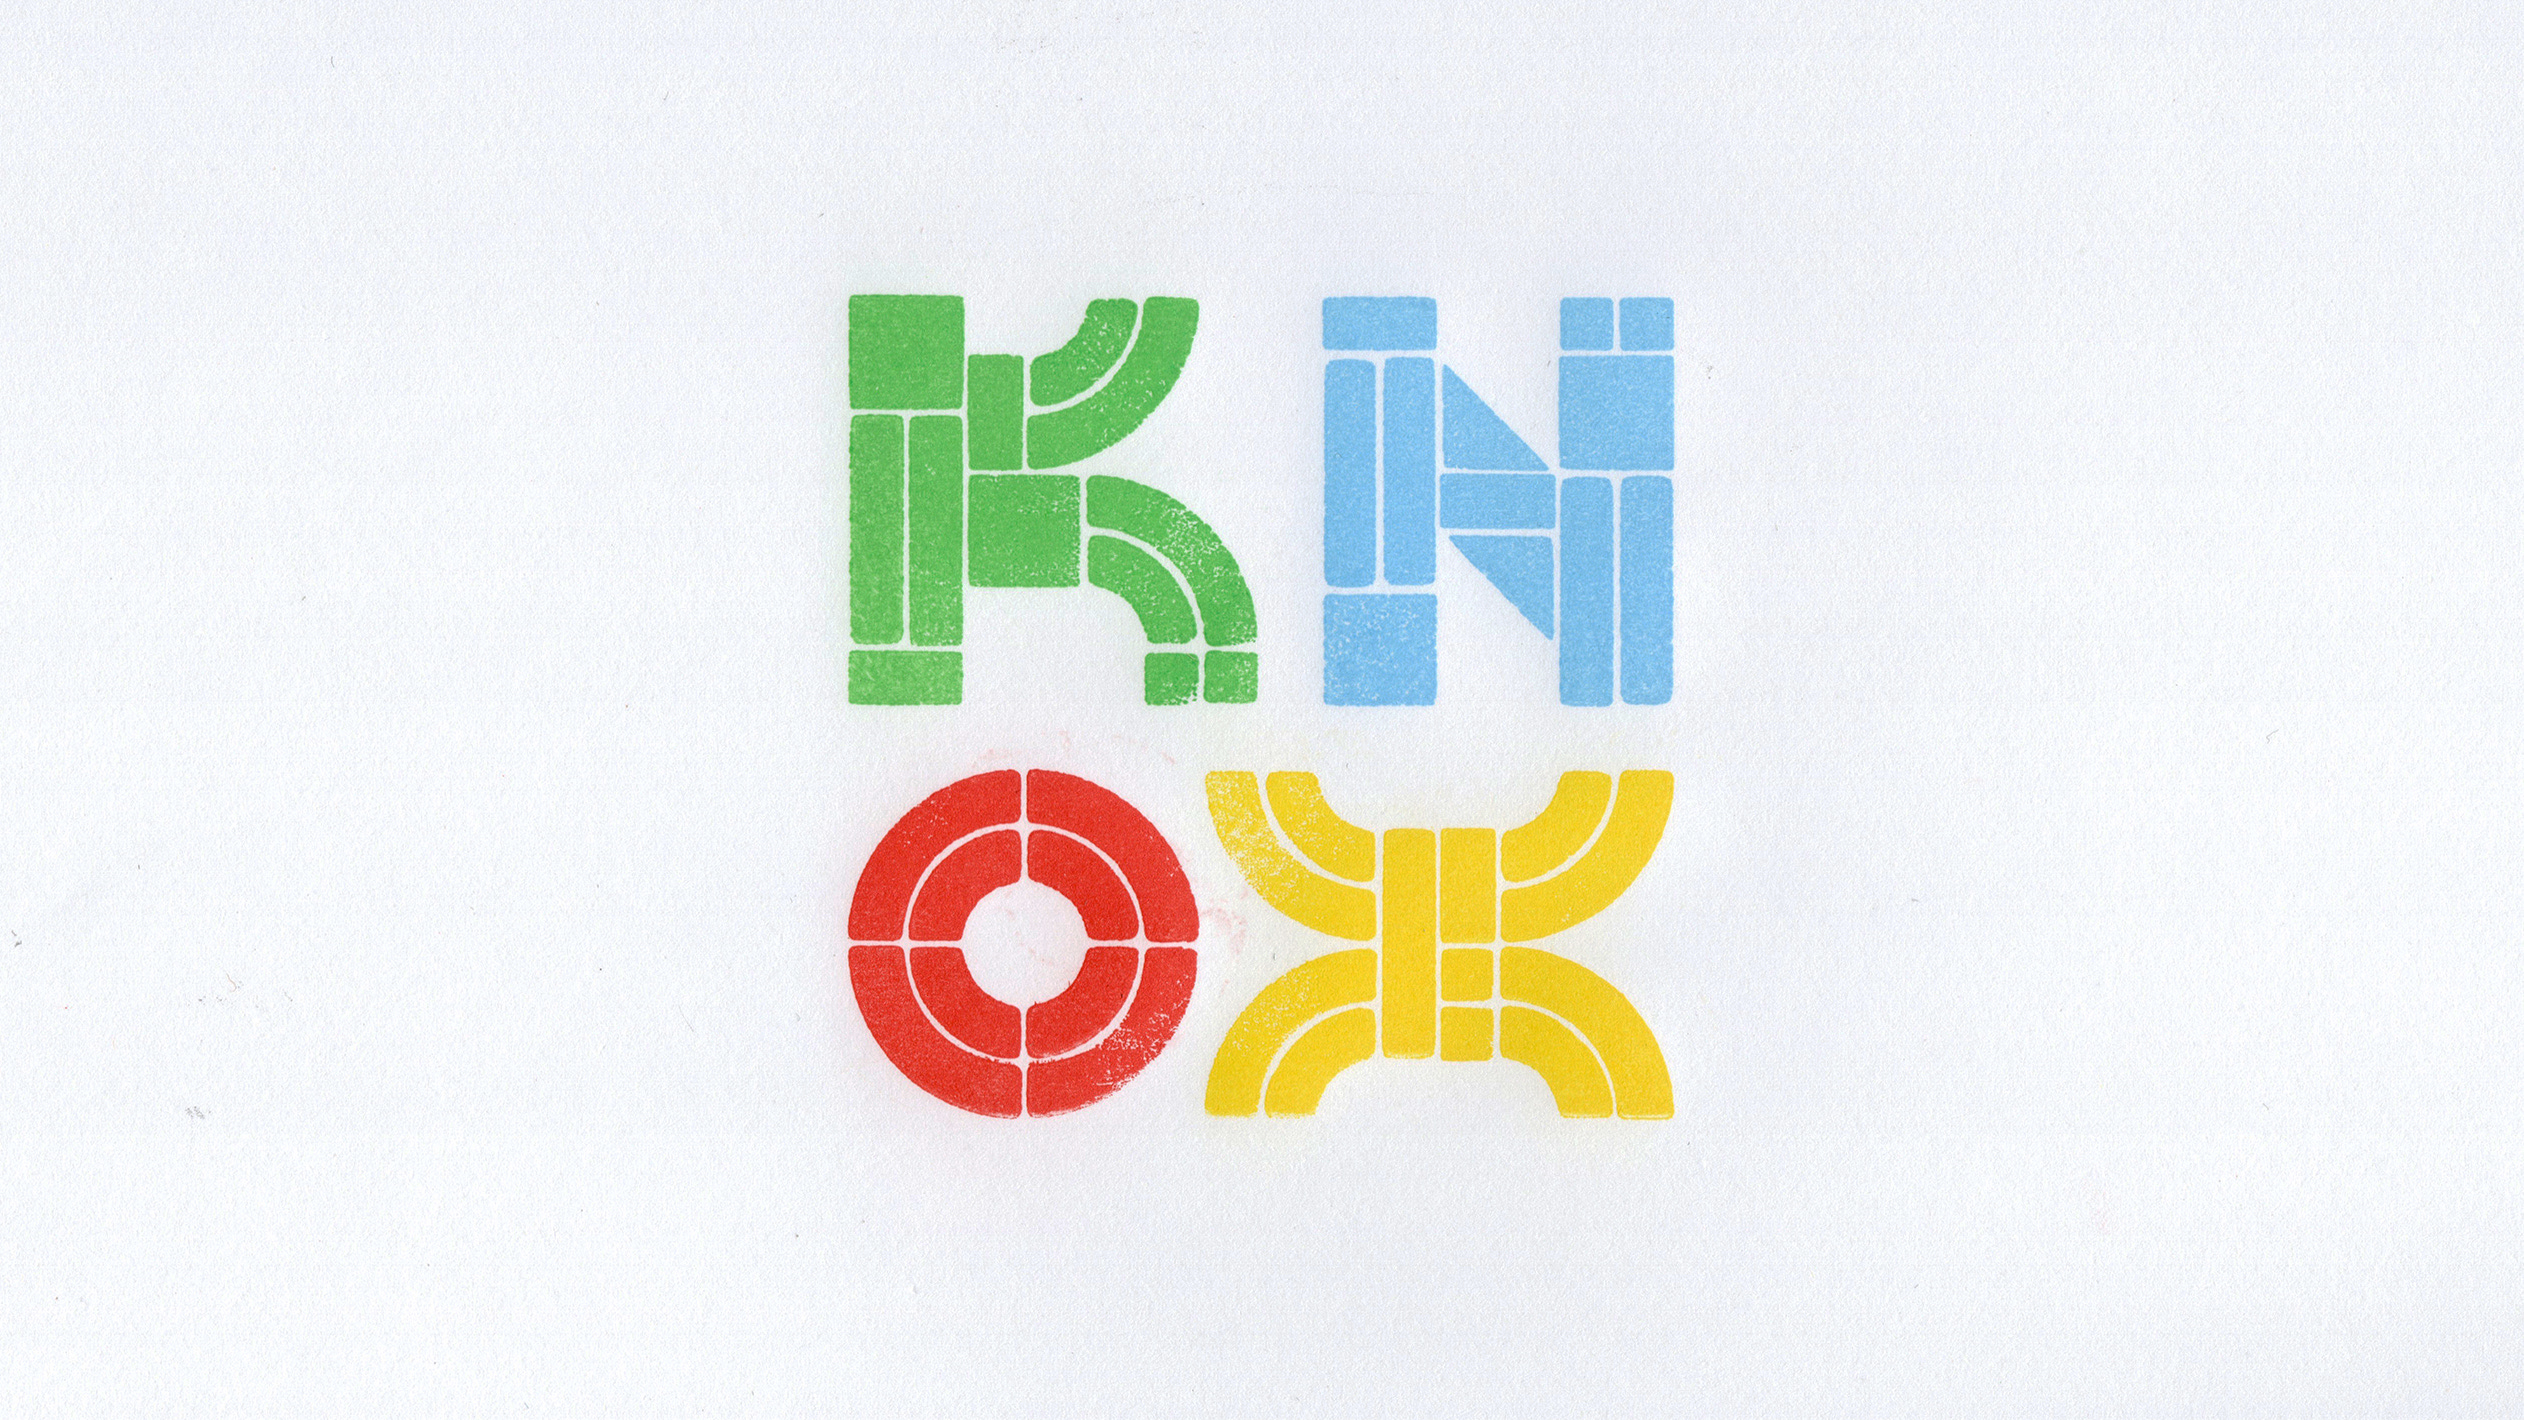
Relief printing is a fun challenge because you have to design everything backwards so it prints the right way. The left design is what the print will look like and the right design is how I need to attach the pieces so it prints correctly.

Then all I had to do was recreate physically what I had made digitally.

The kit comes with four pretty small ink pads, but their small size allows you print with multiple colors at the same time.


Carefully ink the pieces and you’re ready to print!
The setup plate attaches to a larger acrylic plate so you can see exactly where you’re going to print before actually putting ink to paper.
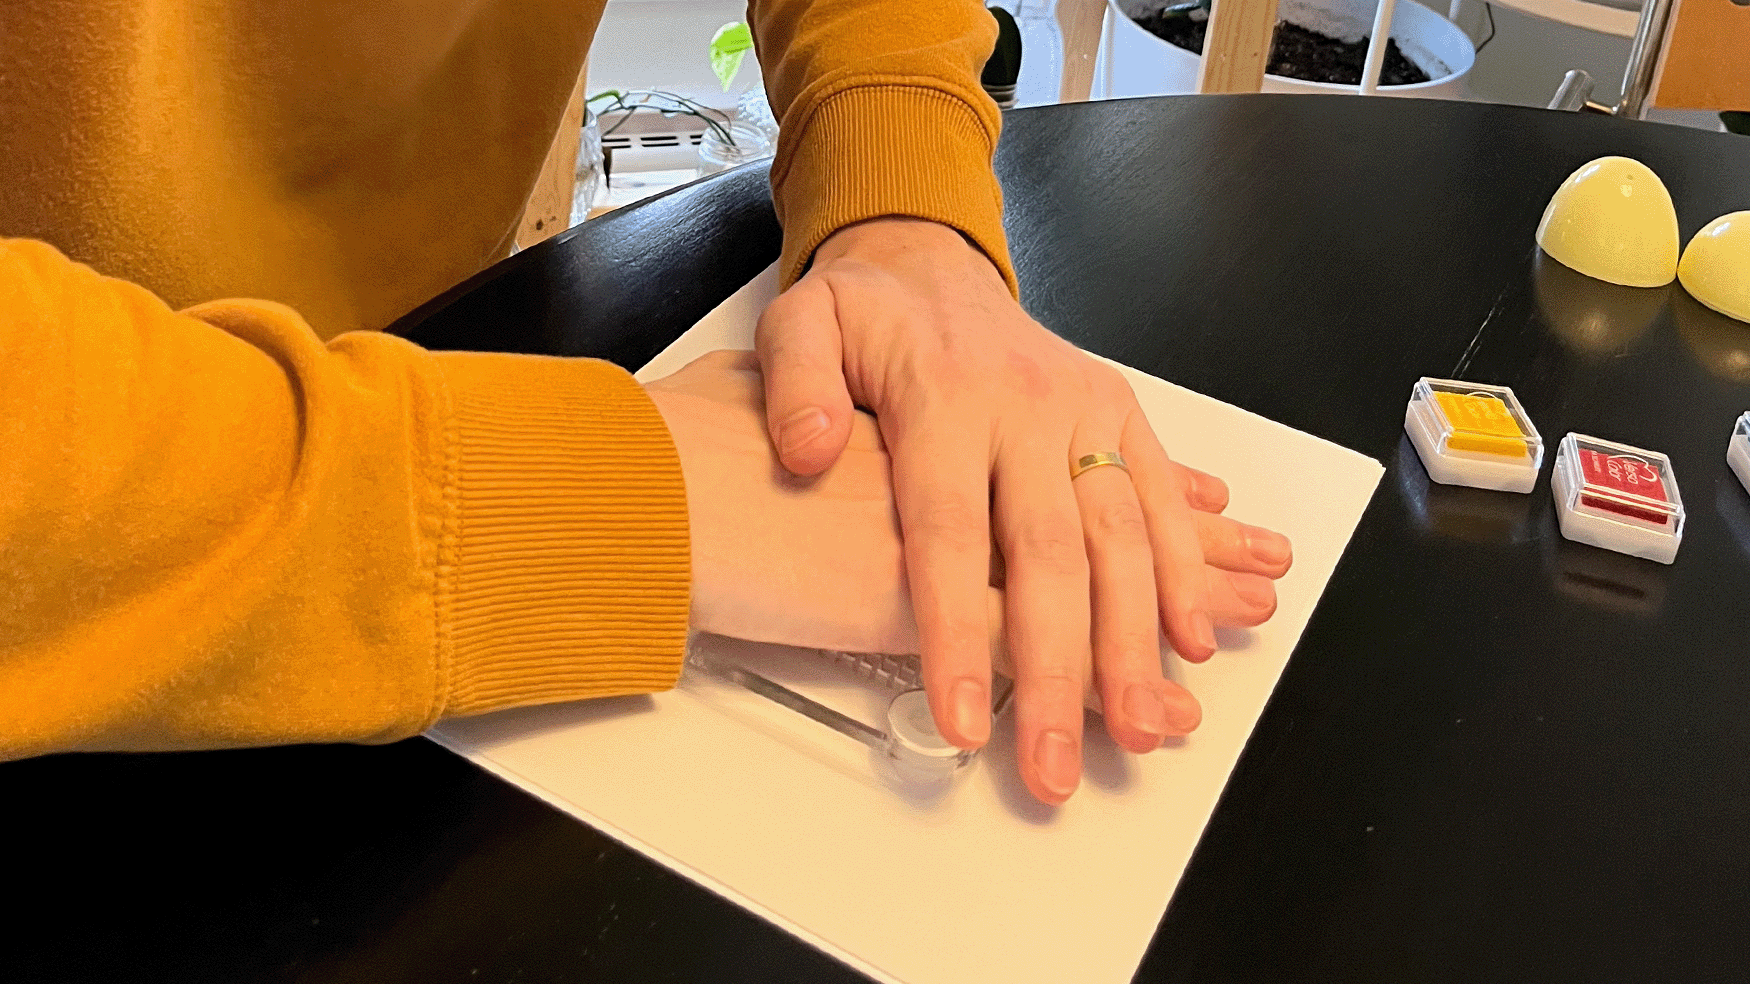
With the Prixel press you are the press so press down hard! I found that standing up to push down gave me better results.
The larger acrylic plate also has rubber feet which holds the inked setup plate just above the surface of the paper so it doesn’t print until you press down. After you release pressure the rubber feet push the whole thing back off the paper.
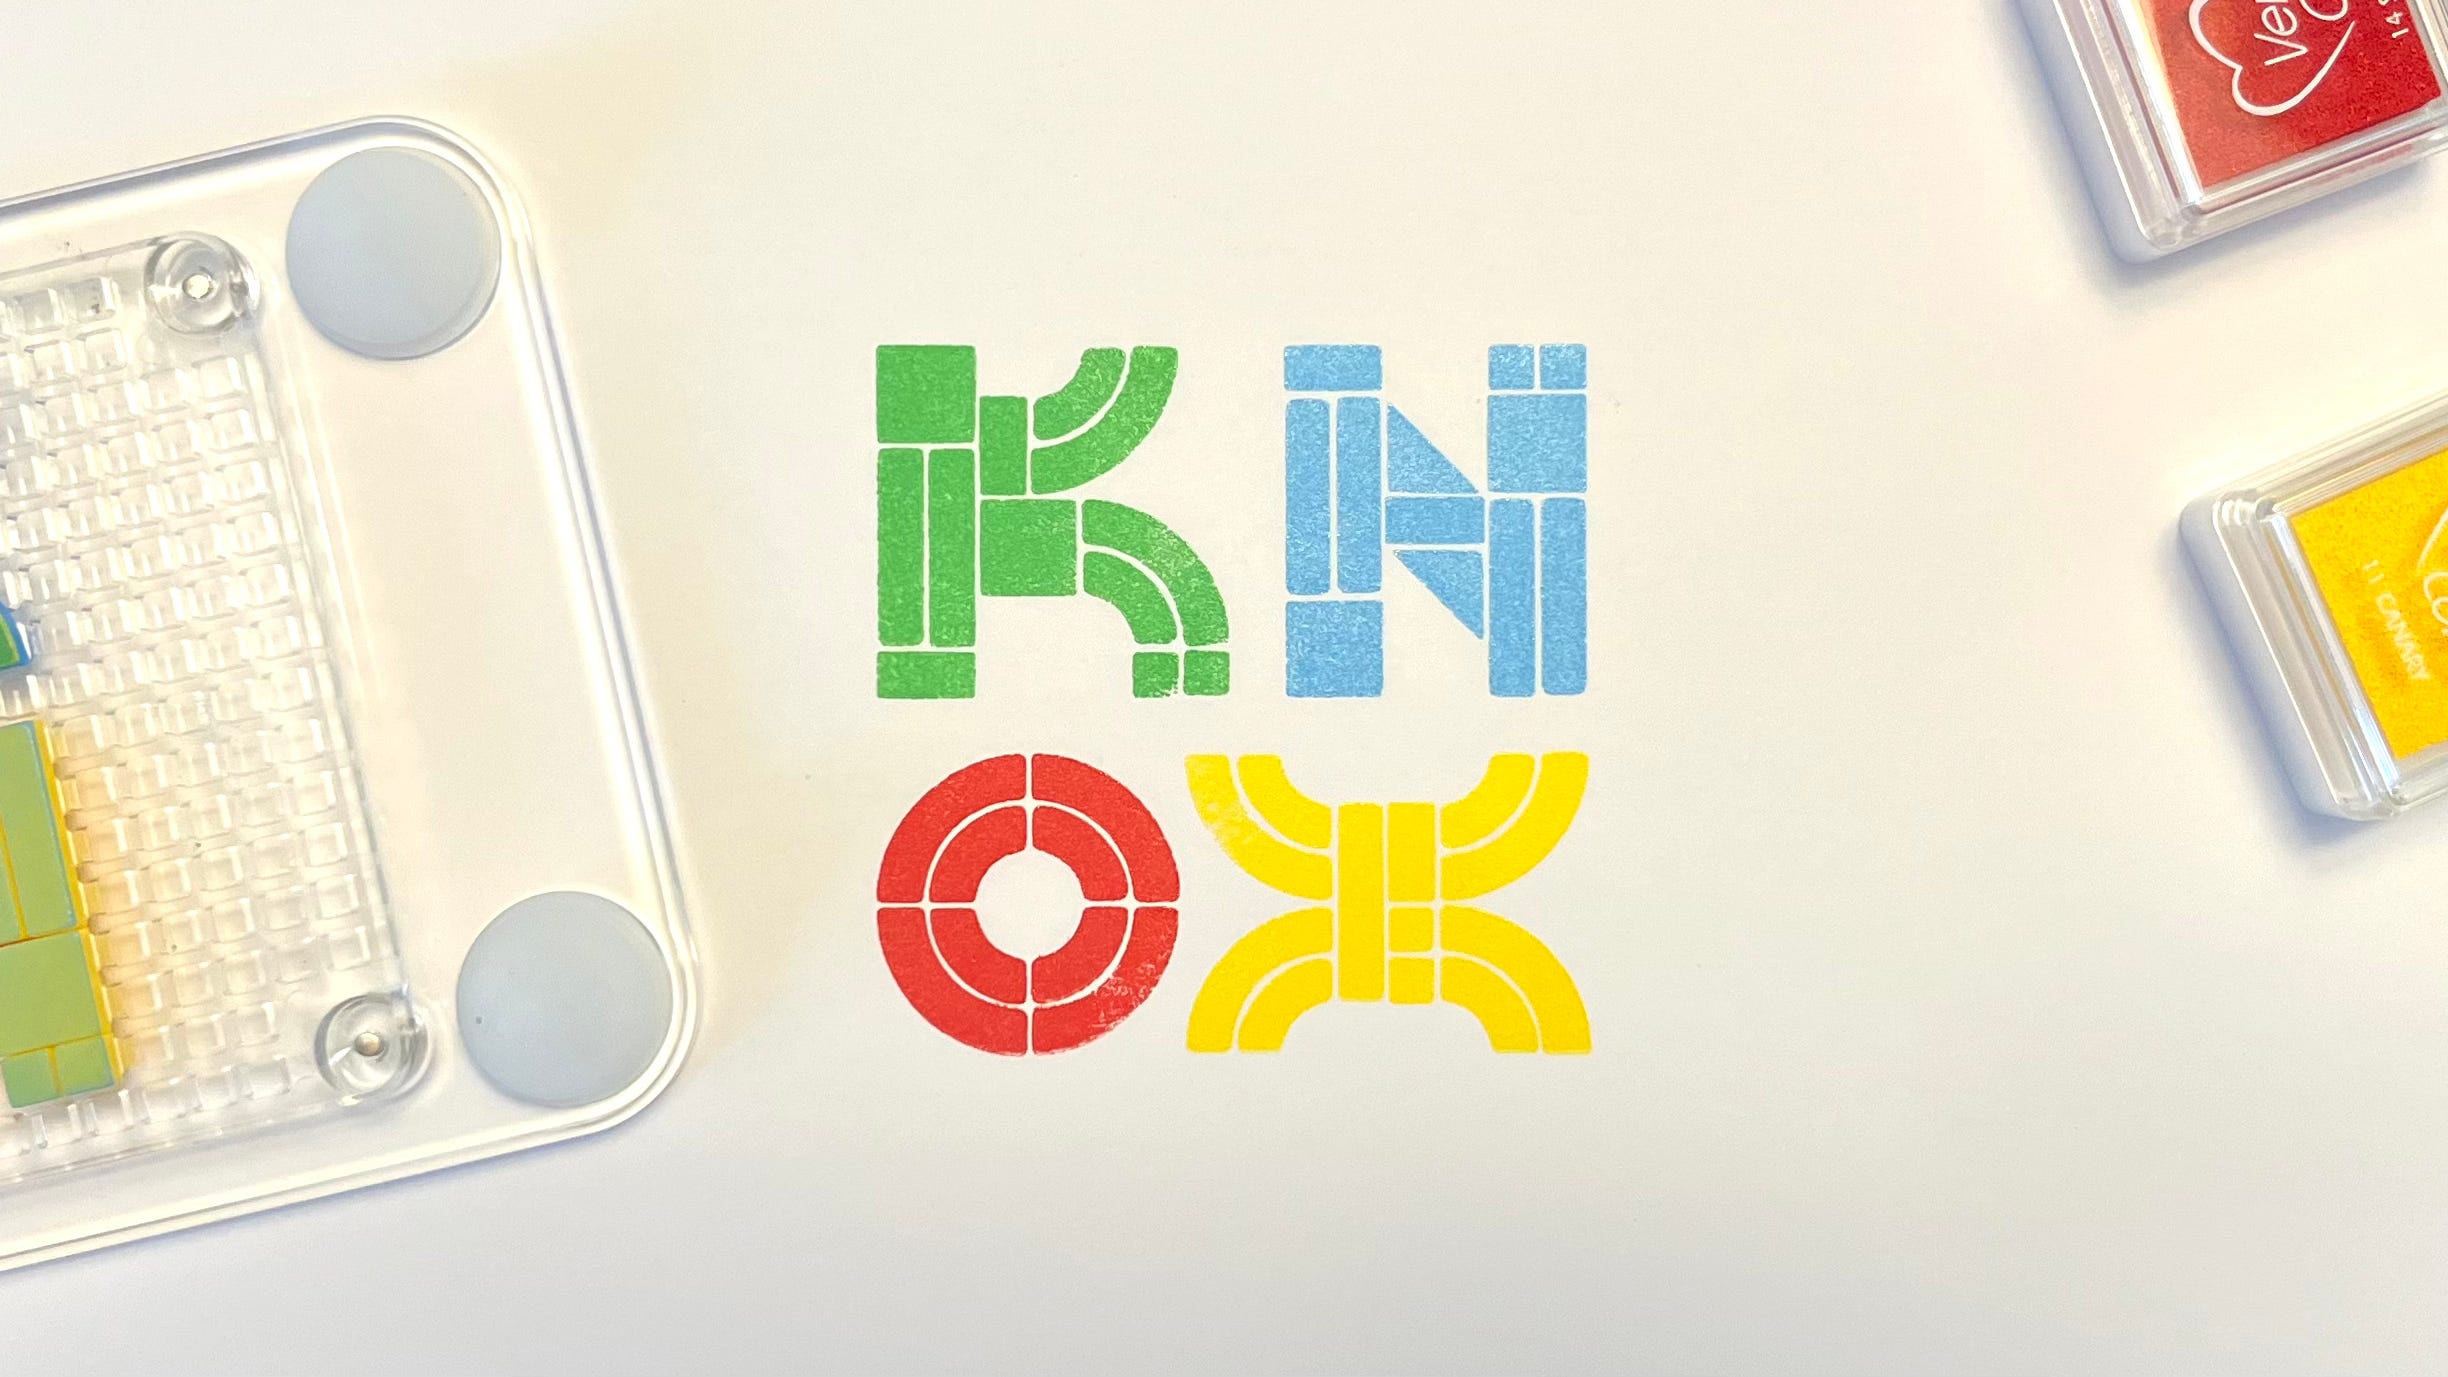
Congrats you made a print!